1911 Barrel Fitting 101: A Beginner's Guide [Fitting Points]
0%
![1911 Barrel Fitting 101: A Beginner's Guide [Fitting Points]](https://fusionfirearms.com/media/magefan_blog/mq1_2_.jpg)
1911 Barrel Fitting 101: A Beginner's Guide [Fitting Points]
Introduction
1911 barrels are a popular choice for many gun enthusiasts, but fitting them correctly can be a daunting task. The 1911 is a classic design, but it has its quirks, and fitting a barrel is one of them. It requires attention to detail, patience, and the right tools.
In this blog post, we'll break down the basics of barrel fitting and provide a step-by-step guide to help you get started. By the end of this article, you should have a better understanding of the process and be able to fit your own 1911 barrel with confidence.
The Basics of Barrel Fitting
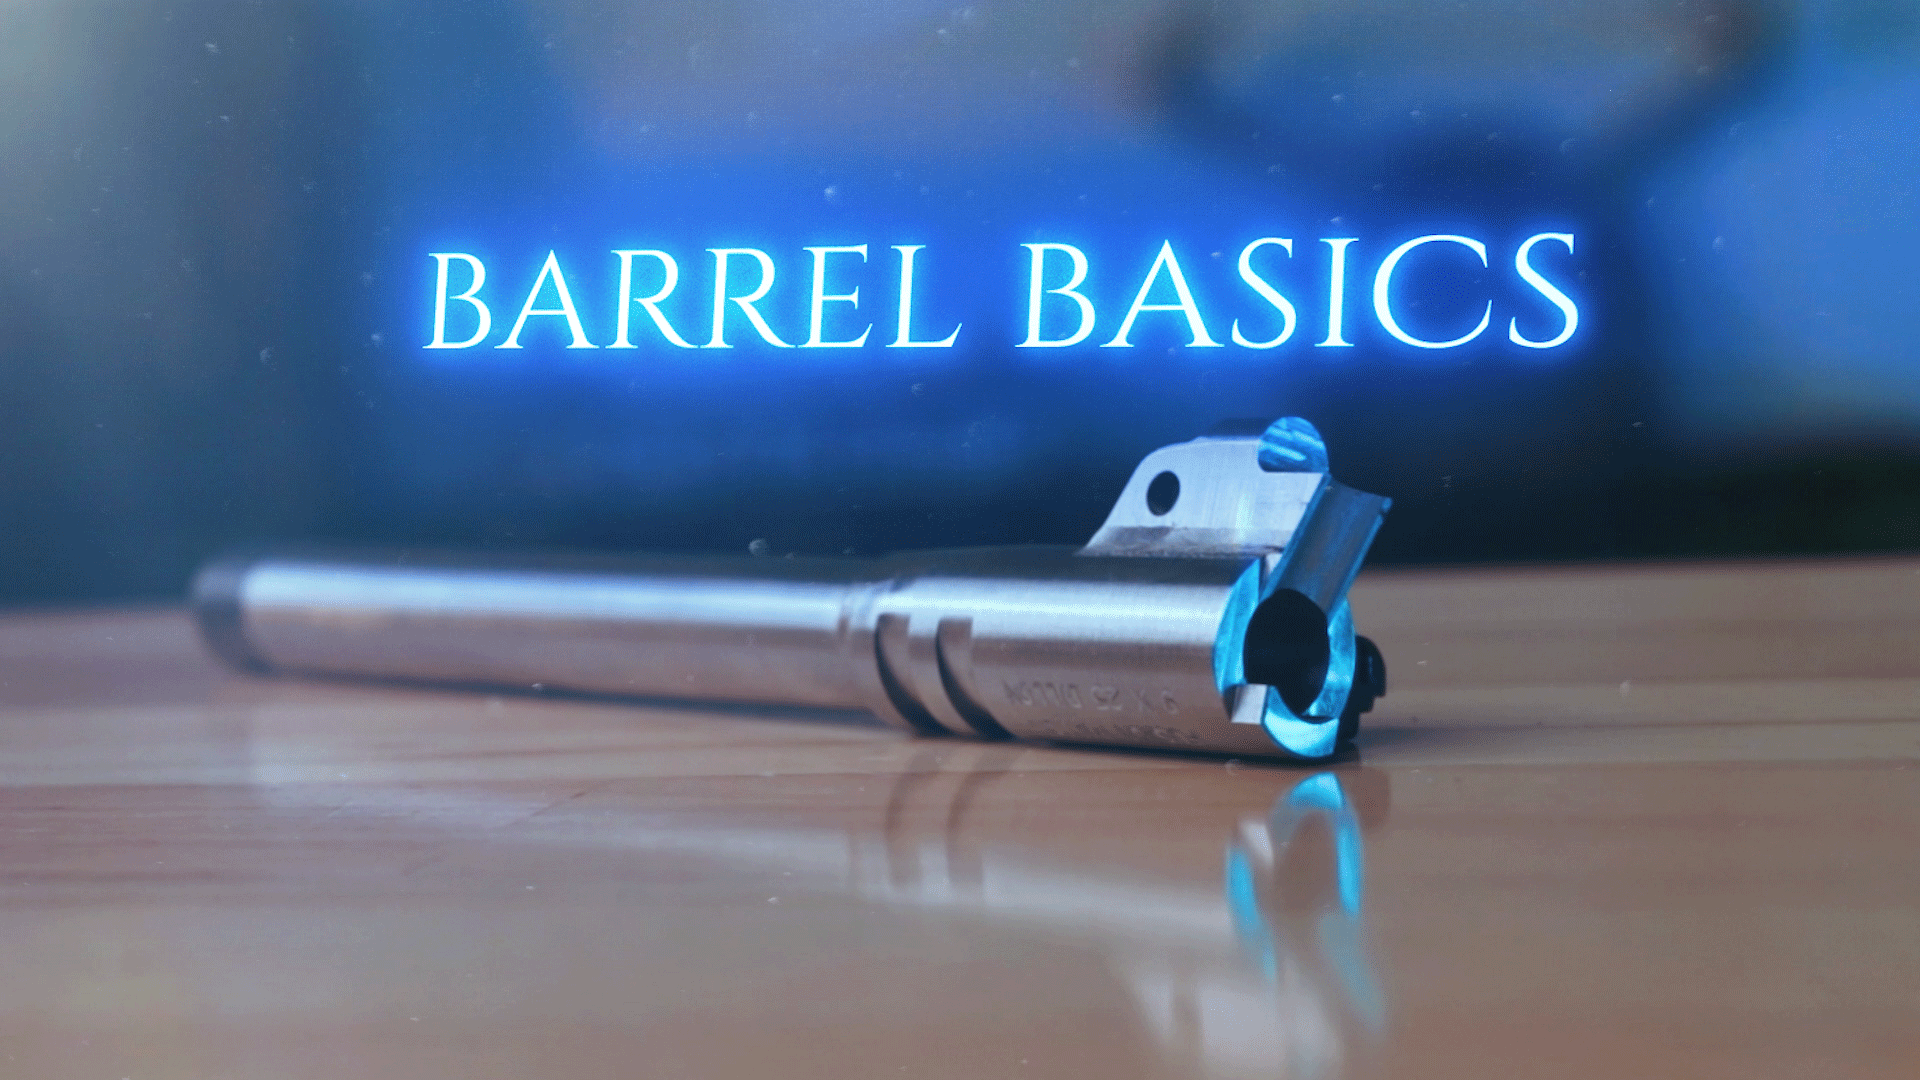
When fitting a 1911 barrel, there are several key areas to focus on. These areas include: The ledges for the ramped barrel
- The back of the hood
- The shoulders on the sides
- The relief angles on the edges
- The contour of the bottom feet
- The barrel link size
- It's important to note that if you're not comfortable working with tools or have limited mechanical skills, it's best to leave the task to a professional gunsmith. Fitting a barrel is a delicate process, and it's better to be safe than sorry.
Fitting Points to Consider
The ledges for the ramped barrel are the first areas to focus on when fitting a 1911 barrel. These are the contact points between the barrel and the slide, and they need to be perfectly aligned to ensure a tight fit. If these ledges are not properly aligned, you'll experience problems like barrel tilt, which can cause accuracy issues. On a standard barrel with no ramp, you may need to file slightly in this area to ensure a proper fit. It's important to take small cuts and test fit the barrel often to ensure that you don't remove too much material. Other fitting points to consider include the back of the hood, the shoulders on the sides, and the relief angles on the edges. The back of the hood needs to be flush with the slide, and the shoulders on the sides need to be perfectly aligned. The relief angles on the edges are there to prevent the barrel from binding in the slide, and they need to be properly filed to ensure a smooth operation. The contour of the bottom feet is another important area to focus on. The barrel feet need to be flush with the bottom of the slide, and the contour needs to be smooth to ensure a tight fit.
- Ledges for the ramped barrel: contact points, need to be aligned for tight fit, can cause barrel tilt if not aligned properly.
- Standard barrel with no ramp: may need slight filing for proper fit.
- Other fitting points: back of hood, shoulders, relief angles, contour of bottom feet.
- Back of hood: needs to be slightly rubbing on breach face of slide.
- Shoulders: needs to be aligned.
- Relief angles: prevent binding, need proper filing.
- The contour of the bottom feet: needs to be flush with the slide, and smooth for a tight fit.
- You want 2 to 3 contact points
Barrel Link Size
When fitting a 1911 barrel, it's important to consider the link size. The link is the part of the barrel that connects it to the slide, and it's responsible for controlling the timing of the barrel.
A number three link is a good starting point, but it may be necessary to adjust the length depending on the wear and tightness of the pistol. If your pistol is new and tight, you may need to use a number four link. If your pistol is worn and loose, you may need to use a number two link. It's important to note that changing the link size can affect the timing of the barrel, and it's something that should be done by a professional gunsmith.
Locking Lugs
The locking lugs are another important area to focus on when fitting a 1911 barrel. These are the parts of the barrel that lock it into the slide, and they need to be perfectly aligned to ensure a tight fit.
If the barrel is designed properly, you shouldn't need to mess with the locking lugs. However, if you do need to adjust them, it's important to note that these areas can be difficult for most people to fit at home and can become a real nightmare for many. It's a delicate process that requires precise measurements and the right tools. The first lug, also known as the "money lug," is the most important of the three lugs on a 1911 barrel. It's the one that does the majority of the locking and it needs to be in perfect alignment with the slide. If this lug is not properly aligned, you'll experience problems like barrel tilt, which can cause accuracy issues. In modern day 1911, three lugs are not necessary, one lug is enough to lock the barrel in place securely. Military match pistols often take off the extra lugs to make the process simpler.
Conclusion
1911 barrel fitting can be a complex process, but by focusing on the key areas mentioned in this blog post, you can achieve a proper fit. By paying attention to the ledges for the ramp barrel, the back of the hood, the shoulders on the sides, the relief angles on the edges, the contour of the bottom feet, the barrel link size and the locking lugs, you can ensure that your 1911 barrel is fitted correctly.
However, if you're not comfortable working with tools or have limited mechanical skills, it's best to leave the task to a professional gunsmith. It's always better to be safe than sorry, and a professional gunsmith has the experience and the tools necessary to fit your barrel correctly.
CHECK OUT OUR MINDS CHANNEL: https://www.minds.com/fusion_firearms/
CHECK US OUT ON FACEBOOK! -
Facebook Tech: https://www.facebook.com/Bobs1911bench
-Facebook Info: https://www.facebook.com/FusionFirearms
CHECK OUT OUR INSTAGRAM: https://www.instagram.com/fusionfirea...
Music: https://artlist.io/
FULL TRANSCRIPT
barrel fitting 101 we're going to start with the basics [Music] hi folks Bob Serva from fusion firearms okay today we're gonna we're gonna start with some basics we did get into a barrel fitting video a little bit ago and it went on for an awful long time and there's a lot of information for people to to take in so what we've decided is we're gonna break it up you're probably gonna have six seven eight whatever barrel videos here on different ways and different areas of fitting so this is going to be basically just 101 what are you looking at for fitting and what i'll do is i'll ink up a couple of spots on this barrel but basically again for most people's application which is going to be combat shooting recreational shooting some target shooting you're gonna you're gonna be able to fit one of these if you have some some basic hand skills and some basic tools you you should be able to fit a barrel and tune it somewhat and again if you're not mechanical or there's something that it scares you you're better off sending it into us or getting getting a competent gunsmith to help you out so where do i start with with here's a here's a barrel say this commander slide here a guy wants to fit this commander threaded barrel to it he's got a ramped frame because i got a ramp barrel here where are my fitting points what are the what are the areas i'm going to look for while i'm fitting so number one again i'll ink this up in green a little bit there's there's going to be two areas here of contact on the ledges for the ramp barrel all right on a standard standard barrel with no ramp you may end up hitting in this area here most pistols won't but you will sometimes find where you have to file slightly there some other fitting areas where you want to look for is going to be the back of the hood and these two shoulders on the sides and the angles that'll be on the edges here the little relief angles that are put filed on the edges here that's part part of the fitting also you'll look here at the bottom feet so you want to look at the bottom feet here and this contour here there's another thing you're gonna look at for that contour and the the barrel feet there and you may have to fit this barrel foot area here also in consideration it's gonna be your barrel link what link size do you want again i generally prefer setting with one of our fusion match 1911 barrels i generally like to set up with a number three link and and start there depending on how worn the pistol is or how tight the pistol is you may want to adjust the length but i generally like to stick right around the number three link once in a while you'll see i'll go for a number four but generally a number three is is really the way to go to set up with for the most part for for most people's standard fitting so you'll have these sides the other considerations you will have your locking loads you really i have seen a lot of hard fit barrels where you've got a monkey with these locking lugs and everything you shouldn't have to okay if the barrels are designed properly you shouldn't have to mess with the the locking lugs again these locking lug areas are extremely difficult for most people to fit at home and it just becomes a real a real nightmare for a lot of people to try to fit locking look so it's important that you buy a barrel where the locking lugs are in good position and really i'll put an arrow here to the first lug and this is your money lug okay this is the lug that is the most important the one that i'll ink in here with green again it's going to be the first lug right here there's three lugs you'll see on the 1911 barrel and again why is there three actually in a modern day 1911 you probably only need one lug okay if i was going to redesign the 1911 i would design it with one lug that's it it's all you really need also you'll notice if you ever see like military match pistols they take these lugs right off boom gone the reason these lugs were designed in the pistol to begin with was the in the beginning the 1911 slide was totally soft it had no heat treatment other than a few positions there was a few spot points on the slide that were hardened induction hardened other than that the 1911 slides were dead soft so they just allowed the lugs to work themselves in until they kind of seated themselves and and that's why they put three lugs on that was the idea that john browning had for the three lug design and again you've got to look at what materials what processes were available over a hundred years ago versus now so we've come a long way with the way we machine things the way we we can select materials hardened materials everything else so those are the the actual basic fitting points the other would be where your bushing race is and that's another thing you'll see most barrels they'll cut back your bushing race only to a certain point and then they'll you'll end up with a clearance cut to the back of the the where you come up toward the locking lug here the body of the barrel over here another thing that you will find at times you may get some interferences that you want to take care of on the sides of the barrels once in a while in these locations here which i'll circle right in here you'll end up with some some areas every once well that will depending on the slide that you have that will rub a little bit hard and you'll see those rub marks you'll see the the burnishing going on on the side of the barrel and that's nothing to be concerned about but basically what i do is just take it and buff those areas out so that you'll relieve a little bit of material on the sides of the barrel to give it more clearance i don't like to see the barrels binding in all different types of of lock up points you'll see some point people that'll want to try to hard for the barrel with five different lock-up points well eventually because of the hardnesses differences in the materials and and you'll even get slides with hard spots in it soft stop spots in it especially on production models that they're making thousands and thousands of them you will end up having areas where before other areas causing those lock-up points they end up changing the dynamics of the pistol as you're using it so i'm not saying it's going to be an unsafe condition that's not it it's just going to continue to change the dynamics of the of the pistol so one of the things that you're looking for is consistent lock up consistent lock up all the time and not really worry about oh do i have eight points that i'm hitting on here or six points or whatever there are a few points i'd like to see a couple of contact points either on the side or the top of the hood on ramped 1911 barrels down in here i like to see a little bit once in a while at least on one of the contact points either vertically or horizontally and then the other i like to see is just going to be a little bit of rub but again not too tight where you're going to create binding but where you can actually put a little bit of thumb pressure on your link and your barrel feet and be able to move this consistently with the slide stop pin again another thing your slide stop pin is something to take into consideration why because you're going to find slide stop pins of all different diameters you're going to find them down to 198 all the way up to 201 and a few thousands on the lugs can make a drastic difference is if if the gun is going to be binding when it's locking up or or are you making it all the way to the back the back dead center of the feet for for good lock up so we'll show you some close-ups of a few of these areas on these barrels and that should help you and then again we'll get into more detailed fitting of each area and how you do it at home and then from there we'll get into the areas where again the the feed ramp how how you want to condition your feed ramp depending if it's a ramped barrel or depending if it's a non-ramped barrel how you're going to condition condition to feed ramp or the throat of the the the barrel itself how are you going to condition that throw so that you have good and reliable feeding and there's a lot of components on on involved in that also but we'll go over that in a later later video so i hope this helps you out that'll give you the basic fitting points of what you want to look for what you don't have to look for and again depending on what type of pistol you're trying to build and and what your application is that gives you some idea from from these fitting points of what to look for what to try to make contact a little bit better and other areas that hey i don't really have to sweat it because this is going to be a recreational pistol i just want it to feed well and and have fun shooting with it so again hopefully this helps you we'll see you again thank you very much from [Music] fusionfirearms.com


