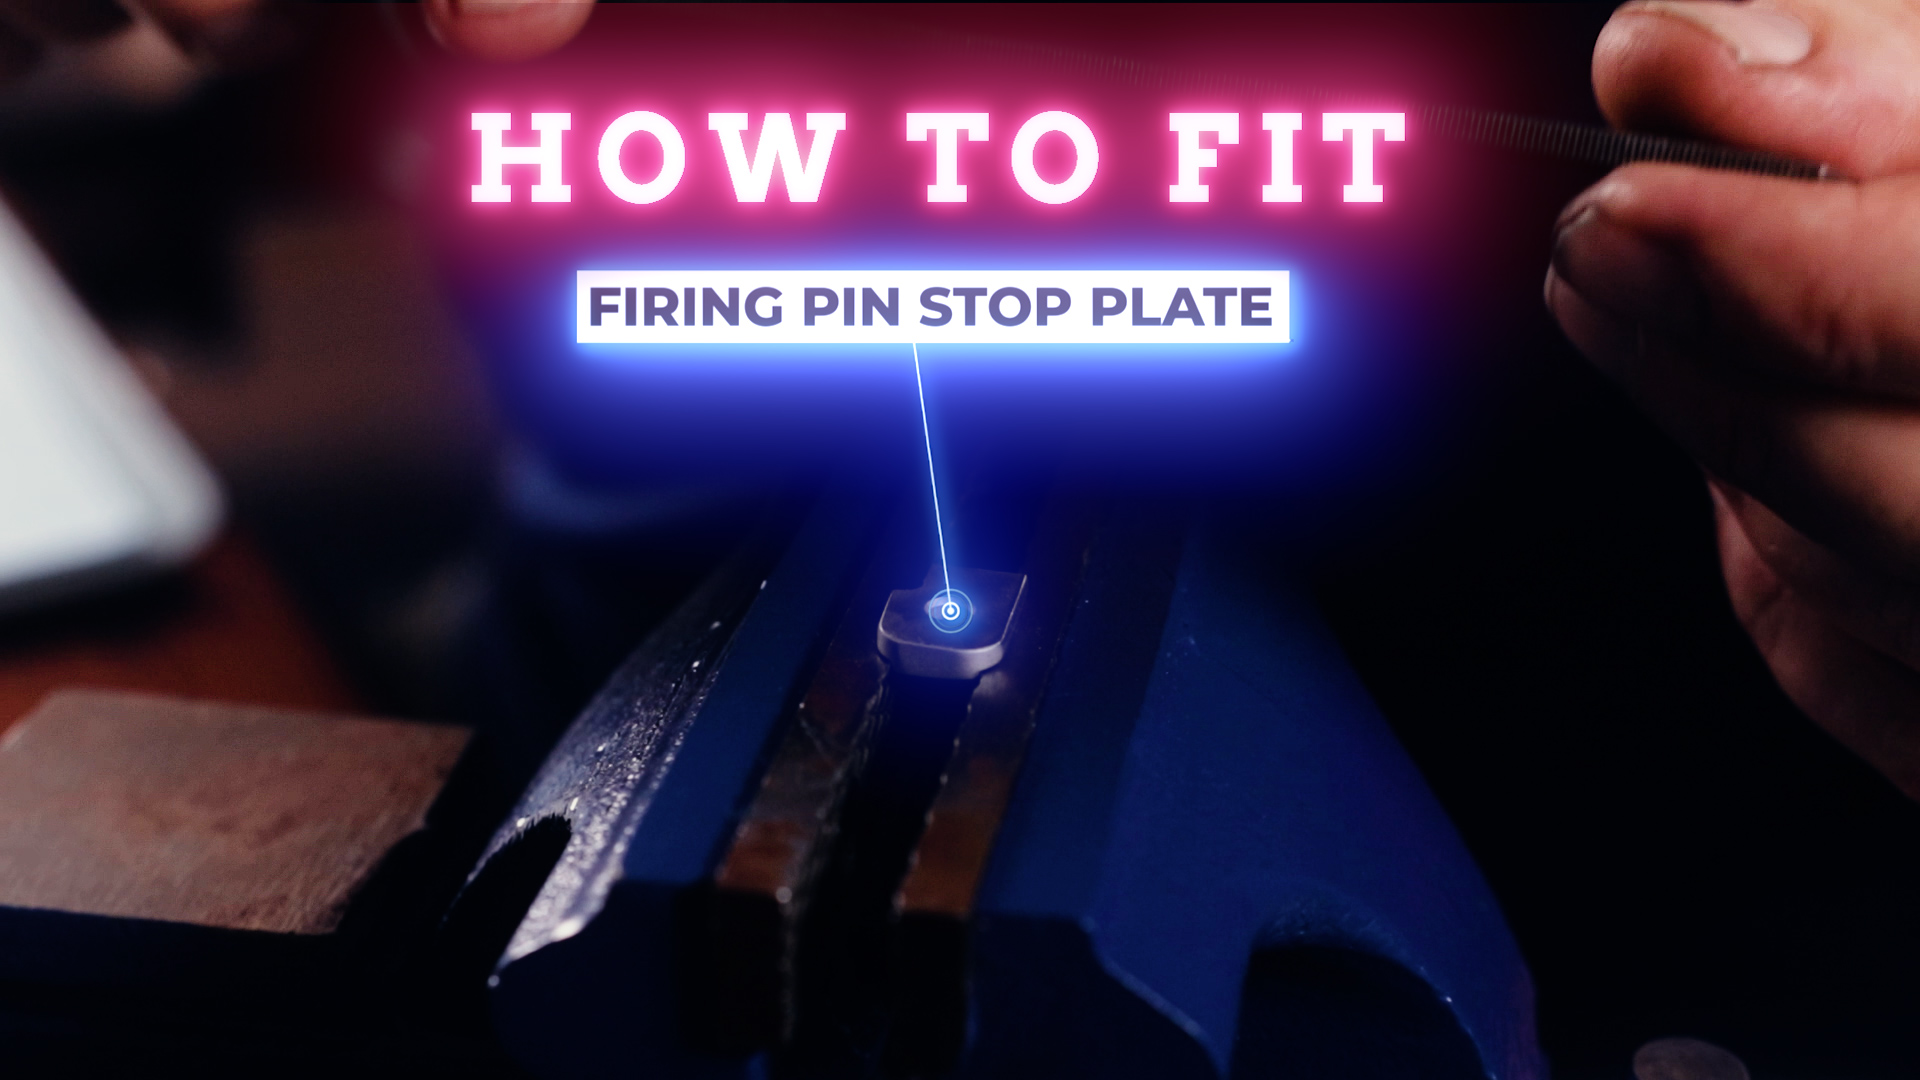
How to Fit 1911 Gunsmith Fit Firing Pin Stop Plate (Fitting)
0%
In this video we will show you how to fit a 1911 Barrel and what common interferences you might run into when fitting a barrel. This is the bare bones when you first get started. This video will go over fitting your Barrel to your Slide, Frame, Slide Stop, and Barrel Bushing. As always have a great day from the Fusion Firearms Family!!!!
Full Transcript
1911 firing pin stops fitting it properly [Music] hey folks Bob Serva again from fusion firearms today we're going to get into the firing pin stop plate you can use a drop in that's not a problem uh this is basically running kind of uh in parallel with the video that we made on extractor clocking uh one of the one of the ways of getting away from the extractor clocking and erratic ejection things of that nature possibly erratic feeding in your 1911 is putting in a new firing pin stop and oversize now it does take a little bit of work a little bit of dressing so it's not just a plug and play type item again we'll show you through the video of what you got to do this one we just is the one that we finally fitted and you can see the different clips through this video of how we've done that but again you're going to check make sure it goes into the extractor groove let's make sure nber one that it's fitting in the groove in the extractor so a lot of times it won't fit a few things you want to do is take a small equaling file and clean out the slot here make sure there's no burrs or anything clean out the slot there and then basically as long as that's clear if this doesn't fit when you start you're probably okay because as you take a oversized firing pin stop and start grinding it down to fit you will end up fitting in here also but ensure that you have no burrs in the actual slot itself in the extractor make sure that first a lot of times people will be leaving the extractor and the gun and beating the death out of the slide stop and it's actually going in the slide but it's not going into the extractor so that ends up being an issue and they're again they're getting a false uh false uh thought of where the actual interference is it's not really in the slide uh itself per se it's in the extractor itself so that's something you got to look at so what we did here is uh again we i actually first deburred the extractor itself make sure there's no burrs in the extractor you'll look at us our standard gunsmithing fit pro series firing pin stop plate and again i'm using a stainless one here so you can see it easier in a black slide and you'll notice it doesn't even start it just basically sticks going into the entrance of the of the of the slot for the firing couldn't stop so what i did with this first is is the first thing i do is i i end up actually grinding and polishing just a slight radius on the edges both of these side edges and again i explain that in the clip going forward on i do that just in case that every slide is a little different and as cutters break down you'll you will get a little bit of a radius inside the groove here and that will again give you a a good contact and give you clearance for the radius that may be developing in the side of the of the slide and you're always going to have some radius in there very very little but again that can cause issues as you're as you're fitting the firing pin stop again giving you a false narrative of where your your your force is where your interference is and it's actually grabbing on the edges and not really grabbing on the extractor or the side walls so again i'll i'll i'll do that first and i get it so it just starts up into the up into the slide and then i actually you can do a few things i end up surface grinding the back side until i just start to get it in there and then tap it in with a small jeweler's hammer like this and then you can also draw file the back that's another way of doing it and we'll show you clamped in the vise and some of the some of the ways you can do it that way but again that's going to get your thickness there and you can check the thickness with pins or things of that nature but again generally that doesn't give you a total indication if you got a slight taper in here if you have a radius in the corner all those type of things you want to you want to be aware of because those are just typical manufacturing uh items that you'll see when you're fitting a park okay so what did we have to do to this well you're going to have to do a few things and again uh we'll show you the the spots but i use a surface grinder and i just grind the back until i start fitting up in here tightly and i'll i'll use a very small jeweler's hammer to tap it in and as i'm tapping it in tapping it out you'll see it'll develop some small spots on the side rub marks maybe even on this surface now you can do either surface some people they want to take it off this surface here and here uh it's much easier if we just lay on a surface grinder and take this off or you can grab it in a vise here and here which we'll show you in a slide pick here in a minute and you can just file this side here some people will belt sand it but it's difficult to belt sand and keep things nice and flat so i generally like a surface grinder and i do realize most people don't have access to a surface grinder at home so files your your best bet and just a draw file this backside here a little bit it's only a few thousands that you have to take off also on the edges here this is a little heavy on the sides and there's a couple of things i do i usually radius this and what do i mean radius i'll put a we'll take a couple of shots that way but i'll take and i'll actually when i take this above a radius on the sides and that allows also for better not so much better contact but easier fitting and a lot of people will say well why do you put a radius on the side well the slot inside of a slide as the cutter is making hundreds and thousands of these slides the cutters wear and you'll sometimes develop some small radiuses in the corners of the of the cut that's inside the slide when the cnc is coming in here and doing that that cut it's a keyway cut and it's a lot of work to be done in a closed area for a for a keyway cutter so sometimes you will develop some slight radiuses in those corners and this will give you clearance by putting a slight radius on here it'll still give you the contact that you need it'll still give you the the the proper pressure you need for the extractor and that so it doesn't clock but it will also give you more contact so this way that in some ways you're you're getting better contact with the extractor itself okay on that side versus maybe as you're putting this in you're actually hanging up on the radius that's inside the track of the slide so you may feel that oh i got good contact with the back of my extractor just the way it feels going in but guess what you really don't because it's just hitting the radiuses in the corners of the of the cut that's in the slide and binding in there and really still not giving you the the best contact with your extractor and then you'll see people grind the side away they'll grind the sides away way too much because they're really they're making contact with the radius that's inside here and the corners slightly you get a very small radius versus contact on the extractor and that is one reason why we will always fit this again you want to check it check it with the extractor out of the slide and then we're going to actually work it and then fit it in the slide itself okay that's the secondary portion but you're going to do that without the extractor without the extractor in the pistol so you can feel if you end up having issues that's in there pretty good there you go the uh if you have issues with your hitting a radius in the corners and not actually making good contact with the extractor so so again i'm going to now put the extractor in that we had problems with all types of clocking in that uh we'll lay in the firing pin and the firing pin spraying sometimes you got to fish this a little bit to get it into the hole and that's that's pretty normal another thing on this one i had to take uh about three thousandths off the top three or four thousandths off the top here the of the radius on these corner radiuses and on the top uh just so it would seat deep enough so that the firing pin wouldn't get hung up on the hole so that's another thing you want to look for when you're fitting this make sure your firing pin is not getting hung up so then we'll put that in there grab my pin fish that in you'll see i can't really get it in there with finger pressure i'm gonna have to tap it in with this jeweler's hammer there you go another thing i look for is it is where the disconnect disconnector races here where it goes back and forth to the disconnector slot am i overhanging that a lot if you get to a point where you put one of these in and you go to put your frame on and all of a sudden you feel like oh i'm stuck on my frame when it gets back toward where the meaty part of the frame is well then obviously you probably have to file just the hair off this bottom here a little bit just a few swipes and you're looking at a couple thousands so all those areas are given a little bit more meat now after i fit that and put that in there you'll notice there's absolutely no clocking that extractor stays there real good i can't i can't get it to clock or move back and forth it's it's in there nice and sturdy it's going to be repeatable it's not going to move around while you're while the way the firearm is being shot the other thing i'm going to do is again i'm going to take my my punch here and i'm going to push on the firing pin up and down up and down up and down make sure that you have clearance uh for the firing pin sometimes you'll see people fit these and next thing they didn't really adjust the stop so that you had proper clearance for the firing pin itself and your firing pin will be sticky and sticking on the hole in there so that's another thing you want to check for also when i finish my fitting i usually take a chamfer tool and i run a chamfer tool just in there a little bit and just make sure that that that hole is smooth and there's no burrs or anything like that uh involved in that in that hole so again that's that's the basics there is fitting points that that will be showing you and some slides going forward here of uh what i mean about like the the dark spots or the rub spots okay folks so here's a uh example of what i mean dark mark or gray mark okay a rub mark so if you look at here we're fitting this uh stop plate firing pin stop plate and i'm putting it in and out of the uh in and out of the slide and you'll feel resistance as you're fitting and you'll notice how this is real shiny and you get to a point here where it's a little bit of a dark mark so i know that i need to either file or buff a little bit more material here because that's my interference point so again when i talk about a rub mark or a gray mark or a dark mark that's what that means right there that's your that's your uh indicator that that's the spot where you're rubbing inside that slide and those marks are really there to indicate to you where the interference is and again why do you do that why don't you just put it on the mill and cut it well you can but again you don't know again without reading those spots those those fitting marks that okay do you have a slight taper in there do you have a bigger radius in there on the corners there's a lot of different variables going on there that could be making your job tougher to fit the firing pin stop play and if you just look at those indicators again look at look at those little rub marks uh take some magic marker put magic marker on it tap it up in there tap it back out tap it back in there take it out oh that's where it's rubbing okay well that's where it's rubbing that's where i need to take a little tiny bit of material and i'm just talking a few swipes with a file just a few swipes or a little bit of puffing put it back in there and try it again so again it's not something that's going to drop in from the sky you're going to have to put a little bit of work into it and to fit it properly but once you do you're not going to have the issues with the extractor clocking uh firing pin stop plate falling out of the gun anything of that nature so it's one of the things that's a that's a nice little trait to learn when you're building 1911s so again that's all we have really on the stock plate right now i hope these videos are helping everybody out seems to be we've been getting a lot of beautiful positive mail from you people and we really appreciate that we'll keep up with these videos and thank you very much thank you for all the support


