Elevate Your Shooting Skills: RMR Cutting Tips for 1911 Owners
0%
The Ultimate Guide to Installing an RMR on the 1911:
Tips and Techniques for a Successful Upgrade
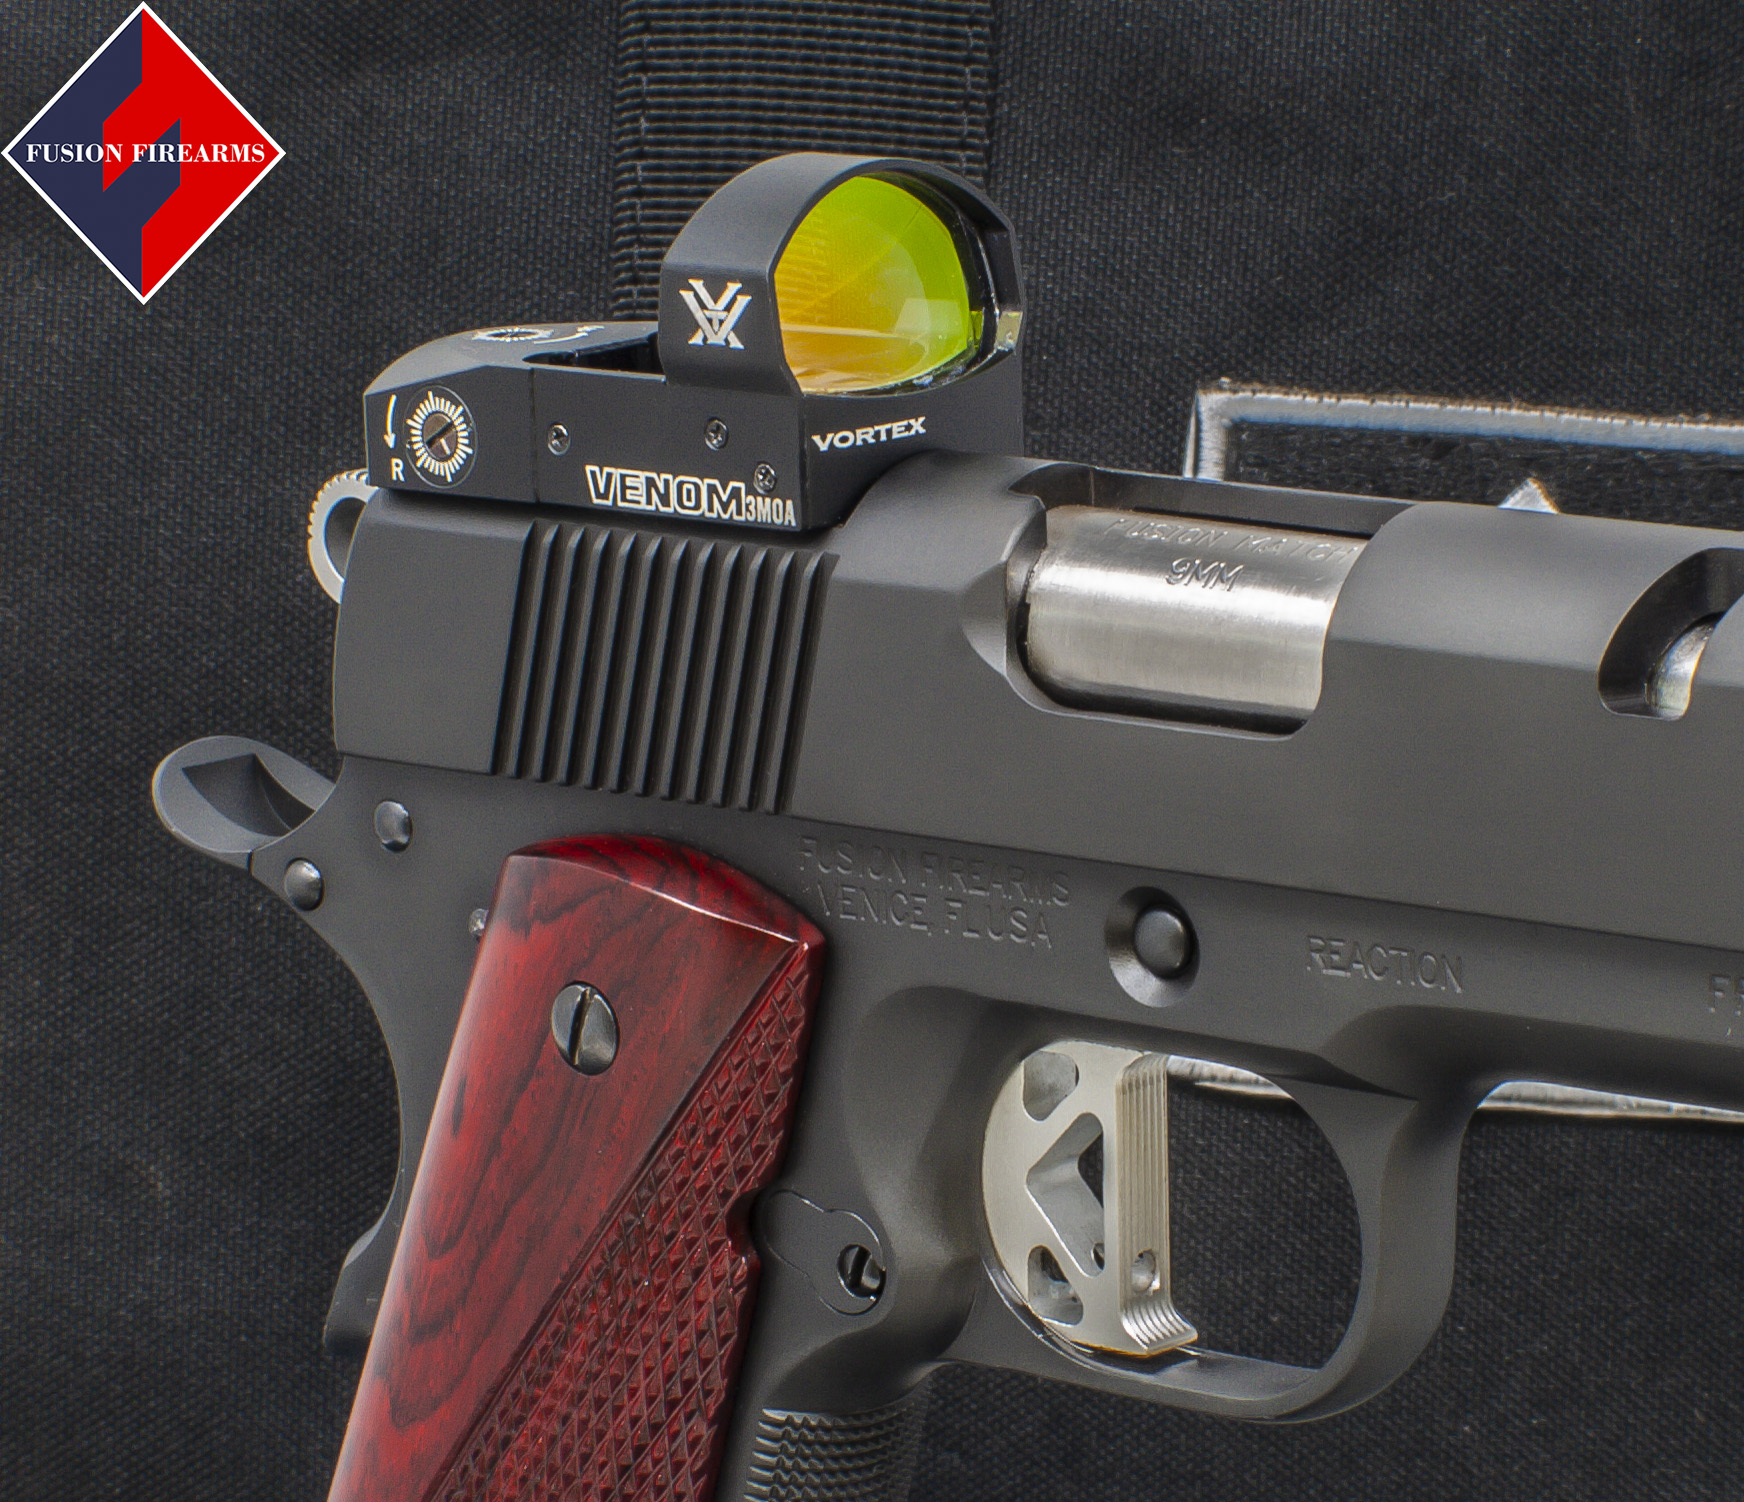
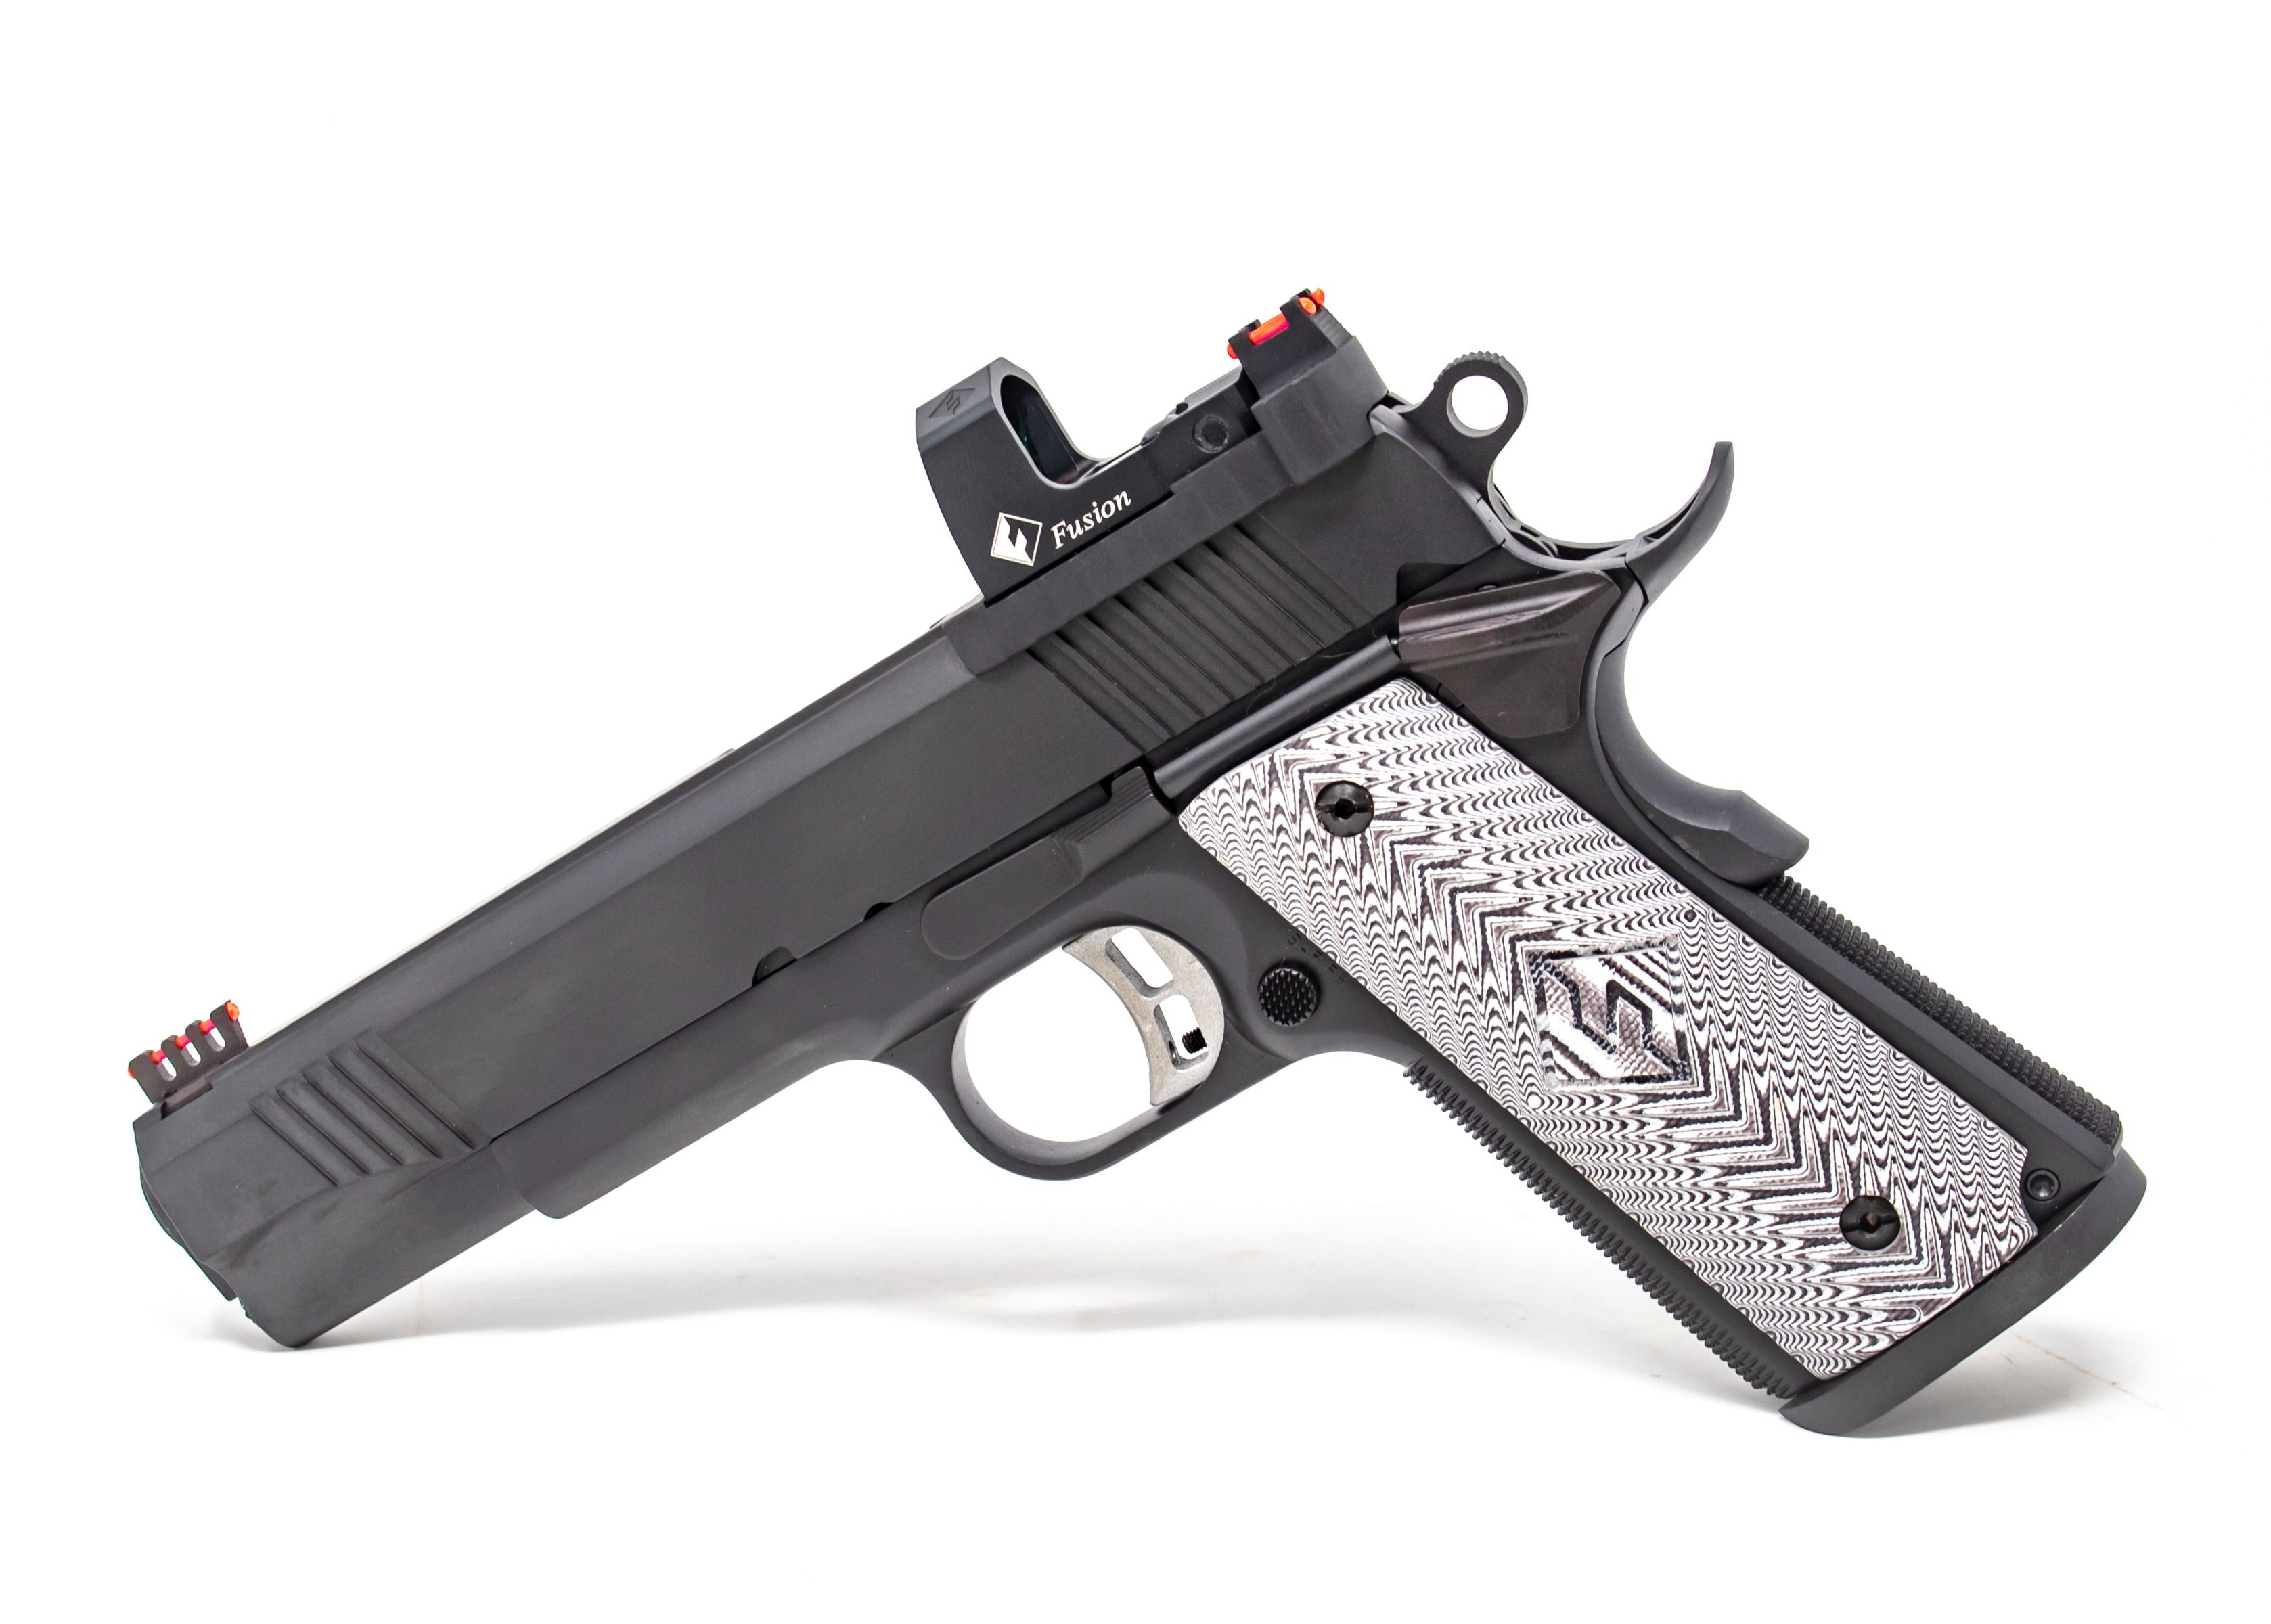
Installing an RMR (reflex miniaturized red dot) on a 1911 slide can be a great way to upgrade the accuracy and customization of your firearm. However, it's important to follow proper techniques to ensure a successful installation.
Before beginning the installation process, it's crucial to first read the instructions provided by the manufacturer of your RMR sight. These instructions will include specific cut dimensions that should be followed for the best fit and performance. Make sure to carefully measure and mark the slide according to the manufacturer's guidelines.
One important factor to consider when installing an RMR on a 1911 slide is the slide taper. 1911 slides typically have a taper of 35 to 40 thousandths, with the front being lower and the back being higher. This is something to keep in mind when making your cuts, as you will want to ensure that the RMR plate is properly aligned and seated flush with the slide. If the plate is not aligned correctly, it can affect the accuracy of your shots.
The first step in the installation process is to take a rough cut of approximately 200 thousandths depth and the length that your manufacturer suggests for the RMR. It's important to make sure this is a rough cut, as you will want to have more material to fit to your slide. You don't want to be in a situation where you have taken too much material off the slide, as this can be difficult to correct.
To make the rough cut, you will want to use a milling machine with an end mill. These tools will allow you to make precise cuts and achieve the proper dimensions. It's also a good idea to use cutting fluid to help reduce heat and improve the cutting process.
Once you have taken the rough cut, you can then place the RMR or base plate on the slide and measure how much material needs to be removed. You will want to ensure that the plate is properly aligned and seated flush with the slide. Use a caliper or micrometer to measure the distance between the plate and the slide at various points, and make any necessary adjustments to the rough cut as needed.
After you have made the rough cut and measured the distance left to make your RMR flush with the back of the slide, you can take a final cut to complete the process. Make sure to use a slow and steady pace, and check your progress frequently to ensure that you are maintaining the proper dimensions.
Once you have taken the final cut, you can proceed with the installation of the RMR. This will involve adding threaded holes for the RMR mounting screws. Again, it's important to carefully follow the manufacturer's instructions for these steps, as the process can vary depending on the specific RMR model you are using.
By following these steps and the manufacturer's instructions, you can confidently and successfully install an RMR on your 1911 slide. With proper care and attention to detail, you can enjoy the enhanced accuracy and customization that an RMR can provide.
Full Transcript
so this is how you install an RMR base plate on a 1911 slide touch off on the top of the slide go down 200 thousands you'll take a rough cut cut 200 000 off and then you're going to fit to your plate the reason why you're going to want to fit to your plate and take a rough cut is because some slides will vary depending on the back of the slide at least our slides are hand Blended so that you don't see any CNC or Machining Mark cut it horizontally so that the back of the plate is flush with the back of your slide also the 200 thousands the reason why we use that number for trigger con normally in the instructions it'll say about 177 thousands that you always got to keep in mind that the 1911 slide is actually at a taper you're going to have about 35 to 40 thousands of taper on an average slide meaning the front will be lower and the back will be higher we also like to go 200 000 due to the cocking serrations and not interfering with them remember always check your slide and take a rough cut so that you don't run into issues where it's not lining up at the back different manufacturers you will have a little variation


