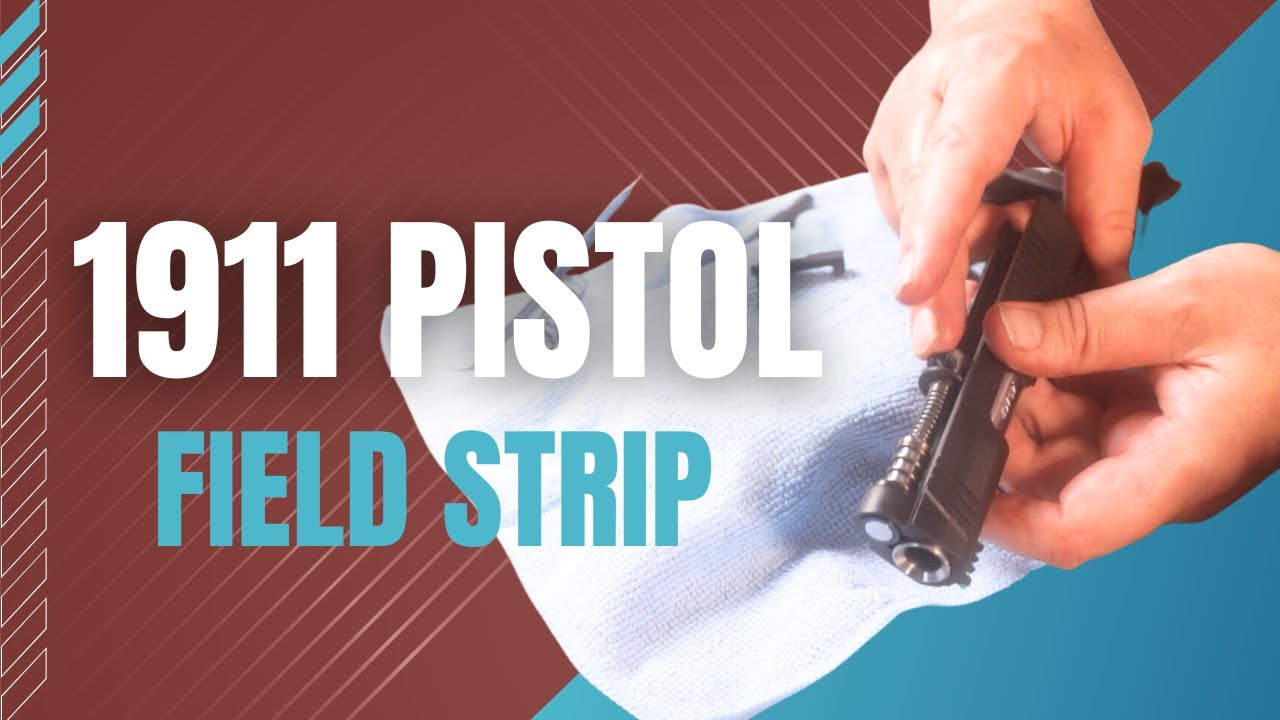
Bantam 1911 How to Field Strip a Reverse Plug Recoil System
0%
Introduction:
Hello, everyone! We are thrilled to bring you this exclusive video featuring the latest addition to Fusion's Bantam series of pistols: The Thorn model. As the creators and passionate firearms enthusiasts at Fusion Firearms, we take immense pride in designing and producing top-notch handguns that cater to both professionals and gun enthusiasts alike. Today, we invite you to join us as we explore the intricate details and features of The Thorn and delve into the essential process of field stripping and maintaining this exceptional pistol.
Safety First:
Before we begin, safety is our utmost priority, and we want to emphasize the importance of handling firearms responsibly. Always ensure that the gun is unloaded, with no ammunition in the chamber or the magazine. We cannot stress this enough – triple-check that the firearm is clear of any live rounds before proceeding with the field stripping process. Safety goggles and adherence to all safety guidelines while handling firearms are crucial.
Step-by-Step Field Stripping:
- Slide Stop Removal: In this segment, we demonstrate how to remove the slide stop, a vital step in disassembling The Thorn pistol. As the creators of this exceptional firearm, we understand the significance of handling it with care. We guide you through locating the correct notch on the slide, ensuring that you don't mistake it for any other notch. Our goal is to empower you with knowledge so that you can confidently handle your firearm without causing any damage.
- Removing the Slide: With the slide stop removed, we walk you through the careful process of sliding back the slide until it aligns with the disassembly notch. This part can be a bit tricky, given the tension from the plunger tube, but worry not! We show you the proper technique to ensure the slide comes off smoothly without any issues.
- Guide Rod System: The Thorn model features a reverse plug system for the guide rod, designed specifically for smaller handguns with shorter barrel lengths. We take pride in engineering firearms that provide enhanced reliability and longevity. To remove the guide rod, we demonstrate a simple and effective technique using a soft-faced hammer for gentle tapping.
- Cleaning and Maintenance: As the creators of The Thorn, we stress the significance of proper firearm maintenance. In this segment, we show you how to thoroughly clean the pistol using firearm-specific solvent and brushes, ensuring optimal performance and preventing corrosion or malfunctions. Remember, a well-maintained firearm is a reliable and accurate one!
Reassembling The Thorn:
The reassembly process is as crucial as the disassembly, and we are here to guide you through it step-by-step. Proper alignment of components and careful handling of the reverse plug are essential for smooth reassembly. Rest assured, with our expert guidance, you'll have your Thorn pistol back together in no time!
Conclusion:
We hope this video has provided you with a comprehensive understanding of The Thorn model from Fusion's Bantam series. As the creators of this exceptional firearm, we are committed to ensuring that you, as firearm owners, are equipped with the knowledge and skills to handle your pistol safely and effectively. With proper care and maintenance, The Thorn will serve you reliably for years to come. Thank you for joining us in this exploration of The Thorn, and as always, remember to prioritize safety in all your firearm endeavors. Happy shooting!
Video Transcript:
Hi folks, Bob from Fusion. We've been getting a lot of questions on our Bantam series of pistols. You'll see this isn't a standard Bantam, but it's a Thorn - one of our new models. The Thorn has a tactical rail but is basically set up like a Bantam. You're working with the same animal, so if it's within this realm of Defender officers, you're generally going to be working with a reverse plug system. With a reverse plug system, there's a little bit of different disassembly. Some guide rod systems will have a hole in it; if they have a hole in there, it's for a paper clip or a little pin that you can put into it to retain the guide rod system. You're always going to be under tension, so when you're under tension, it's a little bit harder to work with a reverse plug system versus a bushing style. But when you move to the smaller handguns with a shorter barrel length, generally, you want to use a reverse plug system. It just mechanically works out better for you for reliability and longevity, everything else.
So, how do you take this apart? How do you clean it? How do you just field strip it? Number one, obviously, you want to make sure the gun's unloaded. Make sure you're always racking it back, make sure the barrel and chamber are clear of any ammunition, and make sure you don't have any ammunition on your bench. We don't want any mistakes happening; we don't need anybody getting hurt.
Next, you've got to move the slide back to the slide stop notch, which is right here. All right, make sure you understand which notch is the correct notch. You wouldn't believe the number of people that send guns in, whether they're fusions or others, and they want us to repair them because the slide stops all bend up and the back lug on the slide stops all ripped up. And it's because they're using the slide lock back position as the exit slot for the slide stop, and that's not going to work right. Take some time, understand your firearm, understand how the operation works and how the disassembly works. It's real important that you know; you don't make mistakes that end up being costly and you've got to repair the product after that.
Now, again, this is going to be your exit slot for the slide stop. Basically, what you're going to be doing is, I end up taking my fingers, I move the slide back, I rack it. I rack it back to a point; you'll see how on the bull barrel, I'm holding my finger like this to hold it in place. You also notice I'm really not at the engagement point yet, the clearance point. So, I'm going to move it up a little bit. Oh, right there, okay, so that looks pretty good, right there. The lug on the outside or the inside will be positioned where you can slide this out of the gun upward and out. Okay, and it has to go through that notch.
Now, sometimes when you're pushing on the pin, the slide stop pin, you'll notice you're getting some resistance. Well, maybe you're not lined up a little bit, so you might have to move this back and forth a little bit, you know, get yourself into the position, the sweet spot, and then also push down on the slide stop because it will have a tendency to be up, and that'll also cause you some issues. Make sure it's pushed down, and then with your finger, I just push on this side, and you'll see it has popped up, okay, a little bit. Now, it's difficult; some people, it's very hard to pull this out because there's not a whole lot to grab onto. If it was an extended version, it might be a little easier, but you've got to remember you're under tension from the plunger inside the plunger tube, okay?
One of the things I do is I just take a punch, I have a little radius rounded on it so it's softly, take care of the pin over here, not dent it or anything. I put it right on the spot, and I'm just going to tap it. Boom, see, a slight little tap like that on the bench, then it comes up and out very easily. I can remove it with my fingers, and then I can let the slide forward.
Now, sometimes the link will get a little bit sticky depending on how it swings down, so I'll just tap the slide, just give it a little tiny tap. What that'll do is, it'll move the link into the position that you need. Also, you can use your scribe; this is a multi-purpose tool which I always tell people to have one, and you can usually get inside here and align it, you can also move the link into position sometimes. But generally, you can take a soft-faced hammer and just a little tap. Like, I'm hardly putting any resistance on it at all, just pressure, just very, very little bit of tap. That's it; you're not going to hurt your finish; you're not going to hurt your gun. Then just remove the slide from the frame, put your frame aside, and you'll notice you got a dual spring system in here. Your primary spring underneath, which this one generally doesn't need much replacement ever, and then this main spring up top is basically the same size as a standard mainspring.
We have a couple of different weights of these springs and repair replacement springs for the gun if you need it. Also, you can use a standard 1911 spring and cut it back and also use it as the mainspring here if you need to. I like them when they're both closed ends with the reverse plug style, but you can get away with the one end being open at times.
So what do you do now? Well, you're going to take this; you're going to pull this recoil system out. You'll notice I can push it forward with my fingers, and you'll see how it basically looks like and acts like a piston. And again, it's going to be under spring tension; you've got to watch what's going on here. Many of these, you can just take it, squeeze it with your hands, pull it up, and out, and you'll see the system pulls right out quite easily. That's your reverse plug. The reverse plug, you'll see, it's keyed. Okay, and what I mean by keyed is it only goes in one way, and you'll notice there's a corresponding shelf right here; there's a corresponding shelf right here. So you'll match up the flat here to the flat there when you reinsert this into the slide on the backside.
Now, if that didn't come out with your assembly with the guide rod assembly, you can just take it, push it with your finger, remove it from the backside, and your reverse plug is out of the pistol. Next, you're going to drop your link down, take the slide at a battery by just rocking it slightly and moving it forward and right out of the pistol. A little dirty; we've been shooting it from that. You'll see the slide has basically been field stripped. You have your barrel, you have your guide rod system, your slide stop is out, and your reverse plug. All these parts are out of the pistol, out of the slide.
Now for maintenance on your guide rod itself, a little bit of oil, that's all you really got to do. There is a hole in the main rod. Push this, you push this out far enough; you can put a pin in it. I usually don't do that; I usually just remove it with my hands. If it gets a little stubborn, I'll show you here taking it apart one more time in a vise. That will also facilitate field stripping. Say you're in this position right now, and you're having a rough time getting this guide rod system out, getting the guide rod system out is stubborn. You might have to do something else to take this apart. I'll show you what I do when I get a stubborn one.
One thing is, sometimes people have a rough time when the slide's not supported well, you know, they just don't have the coordination to get it out. Take a couple of rags, put it in a device, clamp it in a vise lightly, you know, so it can support the slide and it's staying steady, and then you can end up just pulling it out, pulling it back, and taking the guide rod system out, alright? So what happens when it's real stubborn, and you can't get it out with your fingers? You're having a real rough time? I have two screwdrivers, just cheapo little screwdrivers that I've rounded a little radius, a cup on both sides, so I can grab onto the sides here. Then you'll see where I position my thumbs at the backside of this other recoil system. And I will put these two screwdrivers right on the ledge. I'll pull back the spring, compress it, and then pull everything right straight out.
Maintenance on this again is just clean it, take your fouling and debris off of it, a very light oil. I always just run a little line of oil just down it, rub it in onto the spring, actuate it a little bit. Same with this reverse plug; I just clean it, a little bit of oil off your fingers like that. You're good to go.
Now you have your slide; your slide is all apart. Do a little bit of cleaning, which is going in here with a little bit of solvent, brush the rails, brush around the disconnector slot, brush where the breech face is, clean all the debris and fouling, and that's, you know, that's really all you've got to do. Now we go put it back together. Take again the barrel, insert it down through the bore. Put the link down, just like that. You'll notice by rocking it, you can get into the lockup position; your barrel seated. Make sure it's in the lockup position. Remember, I showed you about the keying, where you have the shelf here, and you have the flat also on the reverse plug. We're going to mate those. Then we're going to take the link, bring the link up so it's out of your way, and then we can go ahead and put the reverse plug system in here. Push the back of it with our fingers, and you'll see how it comes out through the front.
Relax it back against the foot of the barrel. At this point, you know you have your top end assembly is completed. Push it back and forth to make sure you don't have any binding or anything weird going on. After that, you know, I'm going to push the link forward. I'm going to be under a little bit of pressure for that. I'm going to do my typical oiling of the rails once I've got everything oiled, and then we'll reassemble the frame back onto the slide. And you'll see it's pretty much in the battery position right now. I'm going to rotate it over, and now, again, remember, the most important thing here is that we're in the right slot, that we make sure that we're always in the right slot, the clearance slot, to put the slide stop back in. This is another point in time where I use my scribe. Make sure your link is lined up because if your slide stop pin is not in the link, you're going to have trouble. Then I'm going to take the slide stop pin, insert it into the link area, then I'm going to move back the slide to the clearance position like that. I'm going to hold it with my fingers. It's a little difficult to do this because usually, I do this against my chest. You'll see I put it right against my chest. I'm going to pull it back now. I take my scribe; I pull back on the detent, and you'll see how I put that right in, and I push with this thumb in, and you're done.
Now, next, make sure you rack your slide, make sure everything's working properly. If you have some type of binding, possibly your guide rod's not in there right; if you can't rack it back, generally what's going to happen is you're not in the link properly. Okay, so that's an issue. At that point, I usually rack the slide forward, I make sure the thumb safety is working, I'll make sure the beavertail safety is working, grip safety, and you're ready to go.


