How to Clean your 1911 Colt Pistol
0%
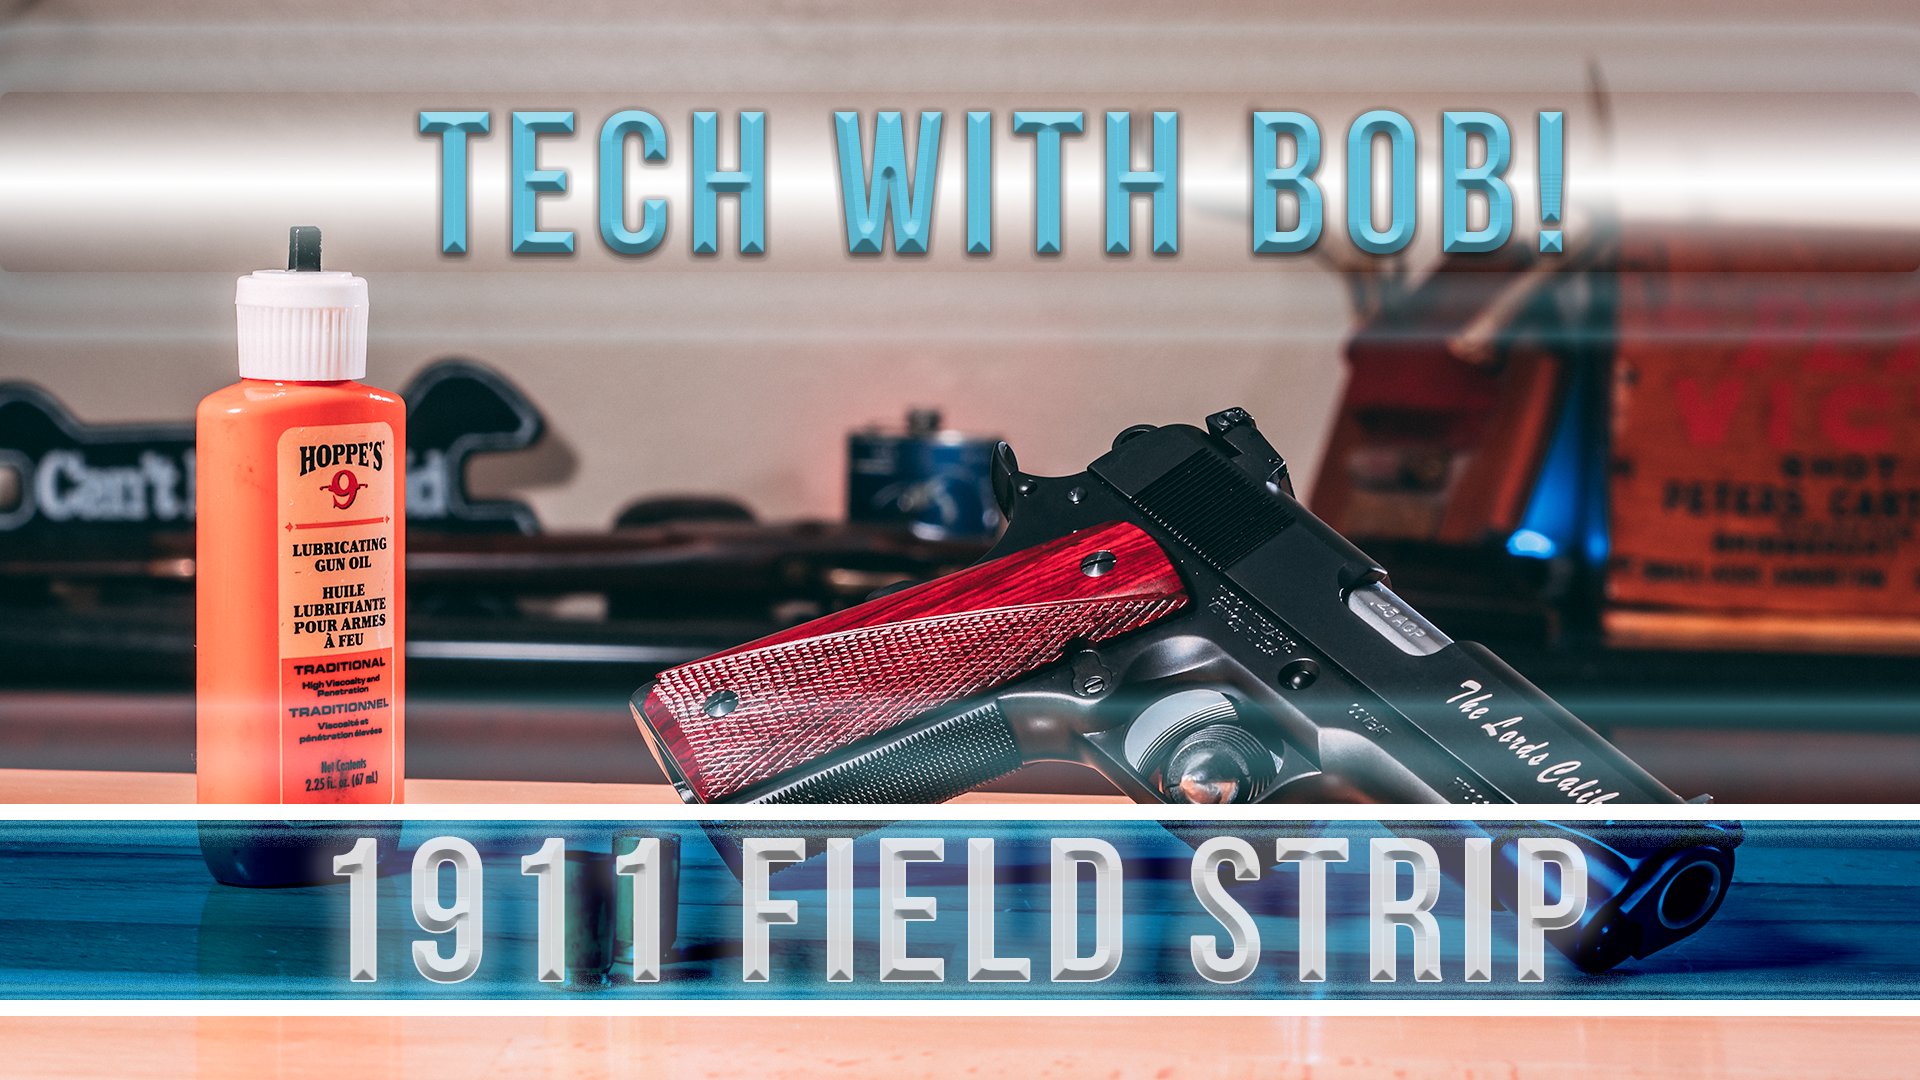
Today at the Fusion Firearms HQ we will be going in depth on how to clean your 1911 Colt Pistol! It is imperative to keep your pistol clean. This will minimize your chance of failure and other problems. Have a Great Day from the Fusion Firearms Family!!
Full Transcript
hi folks pop confusion again today we're going to just go over put cleaning of beer 1911 basically you're going to field-strip the pistol and then clean the barrel clean the bushing all those things that are inside the top and wipe down the bottom and oil a few points what we'll do is we'll if you need to understand field stripping please look at our field stripping video we do have one of those up and and then you can look at that see how to actually take the top end apart they'll go pretty fast with that skip over the field stripping and right to the cleaning what am i using today I'm using Happy's products Hoppy's doesn't sponsor us or anything like that it's just I've been using javis products for 30 plus years and it's just worked well for me and I know there's a lot of different types of cleaning equipment out there oils that's your own preference of what you really like this has been simple basic it really works well for me so I thought used mostly by the hafiz products for the most part okay so what we're going to do I'm going to strip this top end off why do I strip the top end off again first safety make sure the gun is unloaded you always want to do that make sure no magazine gun is unloaded check that why do I feel strip the top end well if you just rack back the slide and start doing your cleaning procedure what's happening you're dping all the powder fouling and debris from the barrel right back into the into the gun itself so all that's washing right down into your trigger mechanism and all that so I really don't care to do it that way I didn't like the feel strip too pissed off so we'll get this top end off right now whooshing just make sure the lung lung is in the right position link pin down pull the hole off the front easily pulled right off that way with the book barrel bushing and everything right on the barrel so being pulled right off simple as that so what I'm going to do want to go to clean clean my pistol first thing I'm going to do again is inspect the breech base look at the extractor make sure that doesn't look like it's beat-up at all check on the inside here a lot of people use a swab go down in here clean this all out is just take a rag wipe everything out make sure there's no debris left in there if you have an air hose it's good to blow it out that all looks good so I come to Mike barrel I'll go through here also and wait down all the other little parts I have here wipe down the barrel brush and clean that odeon ID out my end cap clean that out make sure it's not packed with all types of garbage down in there just wipe off this spring wipe off lick slide stop pin and slide stop okay I'm also going to look at the frame look at the feed ramp but easy with the feed ramp clean the frame dust cover up here I'll wipe that all out any of the fouling debris that's in there now there is some other products that you can use to spray down inside and a lot of the gunk will run out also I watched what type of oils I'm use and I like to Hoppy's because I haven't had problems with a gelling and debris getting caught in it some of the PTFE Teflon based products I've seen I've been guy will bring his gun in here he's having issues with a take it apart it's all there's a lot of times debris powder fouling we wherever he's been hunting with it or whatever out the woods all down inside all the mechanisms down here and that's causing havoc with with the action so again that something might I don't really recommend a lot of those Teflon based products of that so what I'll do first your kit will come cleaning average cleaning kits going to come with a rod it's going to come with a brush cleaning brush it's also going to be come come with a patch holder so first thing I'm going to do will use the brush screw that on and you'll also notice on the cleaning rod this spins the rod spins free of the handle why so that why you're cleaning all right this will follow the rifling of the of the barrel so again that will follow the rifling of the barrel wire cleaning it so again you don't really want to hold on to the rod like this you want to hold on to the handle like this in and out that way this is following the rifling and doing its job cleaning out the cleaning out the bore so a lot of the newer kits there's just a little clam fact that you get a lot of the older hobbies kits or some of that like the deluxe kit you'll get some trays and those trays are nice to have I know some people just they won't take the brush and just dunk it in the bottle I don't really like doing that also because what happens is that debris from your brush all the powder fouling the lead cop or whatever now is getting down into your cleaning solvent and contaminating your cleaning solvent so generally what used to come a little tiny a little tiny bin and what you do is just pour a little bit in the vent circulate your brush in there or the cleaning solvent and then I usually go from the from the breech side the month are the chamber side again in and out you might do this four or five times such times you can examine your bore and see how clean is getting but again it feels simple you look down so you clean it love shiny looks good you got most your let out powder fouling in that so the next step what I'm going to do well this is let's let's get rid of this brush take that up we'll put the patch tip on here and there's a couple different varieties of patch tips this is an eyelet style you just put the patch right through there's other ones that actually they look like a little beer barrel on the end and just be just put it on it is stake the patch on the end of it so again when I normally do with this will put it through the eyelet pull it through so it's basically like half way I'll put a little bit more solvent on it on my first patch and I'll go through with that back and forth now you're gonna find that the patch usually doesn't have enough resistance to really follow the rifling very well your brush will definitely have enough resistance to follow the rifling so then once I'm done with that we'll pull this patch off the eyelet another clean patch then I usually run run a dry patch I usually run a dry patch take all the solvent out of there just like that looks good pull the dry patch off then I'm going to do is one more patch and this one I'm going to put a little oil a couple drops of oil on the edges go to the patch and then I'm gonna run that through you don't have to stop it with the oil just a little bit couple drops back and forth spin it I usually spin it in the chamber a little bit back and forth and you're done at all check the bore everything looks nice I check the chamber while I'm doing this everything looks nice my feed ramp area it looks good I look at the back of the barrel edges here there's usually a little chamfer on the back of the barrel edges make sure those look good they're not dinged up or anything like that that can impede your feeding so that looks all good so now I'll just wipe it clean again put it down here with all the rest of the parts that I have next step I'm going to take the slide back and again check it again make sure my breech face is clean now you can use the brush you can use the brush on the cleaning rod if you want and just and just hit the breech face lightly if it's if you got a lot of debris down there depending on what type of ammo you've been shooting a lot of times you get a heavy waxy residue around the breech face things of that nature so there is other brushes that you can buy to clean the breech face better but this will work also the kit just take it and rub that slightly in the in the breech base make sure it's clean and then again fight that out okay so that's pretty much it then I'm going to look for any debris in the rails clean that out old toothbrush works great and getting there into rail scrub that out get everything out of the rail section even if you have anything in your locking lugs you can take a you can take a brush or a toothbrush and go down there and just go up and down like this into the locking lugs and that'll also clean that area out decent too and at that time I also inspect I'll look at the site so much sites loose and then going on here alright it looks good okay so then what I'm going to do is we're going to put a little oil start with the barrel and the slide I just usually put a little bit just on the edge and then I just rub it down in there with my finger and I like doing that not just to make my hands dirty my hands really dirty but I do this because I can feel I can feel if there's any burrs kicked up a furrow my rail something's going on in there I can actually feel what's going on the disconnect our track here on the bottom of the slide don't have any rough road on that that I need to smooth down and look at with a stone no all looks good okay so you got a little oil on the inside now I'll take the barrel same thing a couple little drops and then I'm just going to smooth it put it around the barrel now this is one of our freedom series reactions our barrels and the freedom series are all chrome part chrome HD chrome so it doesn't doesn't generally happen unless you're in a real corrosive environment so but when you have a standard carbon barrel or something something you've got to keep me it's on there you're going to start seeing rusting on your barrel so again just a little bit of oil then I'm going to link down in the down position barrel back in up into locking lugs looks good okay now now it's time for the bushing take mr. bushing here put a couple of drops on the odeon ID I usually just put a few drops right around the long put it right around the outside and align my mug the window barrel in term I push in there pushing in and turn my pushing clockwise so I'm at the ready position to get the guide rod so now I'm going to take the guide rod and spring and again this I've already looked at looked at everything on here again look at your guide rod make sure you're not getting burrs picked up from the link on your guide rod that's a common thing I see on a lot of commanders and things of that nature so if that's the case you can put a little clearance on the back of the guide rod for that also look around the edges see if you have any rough edges or dings and dents on the guide rod I'd like to keep that smooth even in the lighter calibers you cannot have a lot of resistance on the slide and if you have issues with the guide rod with the linkit and the guide rod or anything's going on on the outside here and if it's dragging heavy in the gun or binding in there it's only going to put more resistance on your slide causing feeding issues very familiar those type of things so look at the guy right I always expect a guy around a lot of people don't ever think of the guide rod as issues but it's a Cobra a lot of time so one thing to look at so now I'm just going to put the guide rod and spring back in put the link back up okay and at this point I might put a drop of oil on both sides of the rails and that's it right now then I put the slide aside okay eventually guys will get into stripping down the whole entire frame stripping down the entire top end but right now we're just doing a generic cleaning so again what am I going to do I'm going to look down inside my magwell area if there's a lot of debris down in there again and then just you can take your brush you can also take a patch run that down in here and just make sure you kick all that dirt out of there again some people will use different types of spring cleaning there's a spray down in there run everything out that that does also work well to at times at this point what I'll do now again I'll just put another drop here the rails I'll put another drop in the hole for the fly stop pin and then I generally just put a drop down on the hammer and see area there oh that's it and then I'll just work this back and forth you'll see I have my hand on the grip safety I have my thb against the hammer and I'm slowly relaxing the hammer and slowly cocking the hammer back and forth just to work it a little bit work the oil down into the system then again well we'll do another video strip the whole lower down if you want to get that detail and again at this point I'm going to look at my feed ramp area we'll have any issues with my feet ramp everything else looks pretty good in here excellent alright so now I'm going to put the top end back on they got a few drops of oil and slide that on bring it to the position where my link is you've got a bunch of oil in the hole so say there we go I use a scribe a lot of times to reassemble help lying the link everything else you can put some oil on the slide stop if you wish on the pin in that there's sufficient enough on this already now I'm gonna put that into the link hole I'm gonna bring this back again to the to the window and I usually again use my sprite I take a scribe pull back on the detent and push the slide stop in save you from having all the idiot marks up and down scratching you're scratching your frame all up okay so next what am I going to do end cap again I've already inspected the end cap look inside make sure there's no debris inside wipe it off a little drop of oil on the end cap rub it around the part put the end cap back on the spring pretty coil spring down into the dust cover of the slide next barrel bushing wrench some people will just turn it by hand hands on your gun I'll take the bushing is and then turn the bushing back over top of the guide rod in town then I usually push the end cap up and down make sure it's free make sure it's not binding anywhere everything looks good again make sure it's pointed away from your face you don't want to get you don't want to release that by accident and get get get slapped in the face with your and seeing that happen quite a few times [Music] I have no binding I'm gonna do a quick test let the slide slam forward okay so I've hammer fall I'm gonna pull back and hold the trigger in place I'm gonna do it again holding the disconnect ER in position make sure you do not have hammer fall I know a lot of people be like oh my gosh you're gonna ruin your action no you're not okay do not worry about that that's a total fallacy so again I'm holding back on the disconnect err and making sure you have no hammer fall okay just quick simple safety procedures again what am I going to do at this point I check my thb safety okay grab the the beaver tail safety the grip safety make sure it doesn't fire pull down on that don't touch anything here let leave your beaver tail and your grip safety in the in the upward position thb Safety's down make sure the gun doesn't fire again now all your safeties are working great okay she's ready to go after that few things with what I normally do after that I'll pull it back I'll run a couple more drops of oil down the rails back the slide back and forth make sure that's all good and then again I'm going to take a micro cloth fiber or the rag soft rag a little bit of oil and then wipe down the entire pistol okay depending on the finish you have you might you might need to not need as much black outside pistols you're gonna want a little bit of oil on the outside just to protect things even stainless or understood as stainless will rust also so you want to put a little oil on just because you have a stainless gun do not think it's not gonna rust so again I'm gonna make sure everything's old up halfway decent and that's it you're ready to put her back to bed till you go out and shoot again alright guys have a great day thanks a lot for watching


